3 min read
What Is in the Box, and What Each Piece Is For
Open an ANARA box and there are four things in it besides the nails. Three are unlabelled, and in most sets that get poor wear at least one of them was never used.
The nails
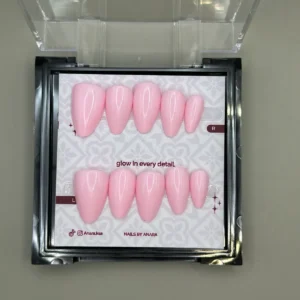
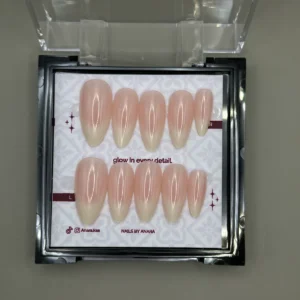
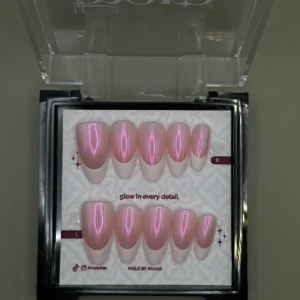
Ten in the hand-finished sets, in one size — XS, S or M — arranged on a printed card and marked R and L so each nail goes on the finger it was shaped for. Twenty-four in the colour sets, covering every size, so you pick per finger.
Keep the card. It is not packaging — it is the thing that makes a second wear possible, because a set returned to its slots stays sized and ordered, and a set tipped into a drawer does not.
The liquid glue
The small tube. It is a cyanoacrylate adhesive, and it is what gets you the full fourteen days. A thin even layer on the underside of the false nail, a small dot on your own, and fifteen counted seconds of pressure.
More is not better. Excess squeezes out at the cuticle, stays soft, and soft edges are where lifting begins.
The adhesive tabs
The sheet of clear pre-cut pads. Double-sided, sized to nail shapes, and the piece most people never open.
They hold for a few days rather than a fortnight and they come off in warm water in seconds. Use them when you want the set off again soon, or to test the fit of a whole set before committing glue to it. The glue-or-tabs guide covers the choice properly.
The file
The small board. It has two jobs and one of them is not what people assume.
Its first job is your own nail: one light pass across the surface before applying, to take the shine off. That is what gives the adhesive something to grip. Light — you are dulling the surface, not thinning the nail.
Its second job is the false nail: if a nail is a fraction too wide, file the sides down until it sits corner to corner. This is why you take the larger size when you are between two. You can make a nail smaller and you cannot make it bigger.
The wooden stick
Pointed at one end, flat at the other. Before applying, the flat end pushes the cuticle back so the false nail can sit flush against it rather than on top of it.
Afterwards it is the removal tool: the flat end slides under the free edge to lift a soaked nail, and it peels the dried glue off the underside so the set can be worn again. Never use anything metal for either — a metal edge under a nail is how the natural surface gets torn.
The order
Push back the cuticles. Wipe every nail so it is clean and dry, with no hand cream anywhere. One light pass with the file. Check each false nail against its finger and file the sides of any that overhang. Then glue or tabs, and fifteen seconds per nail.
That is the whole thing, and it is the difference between four days of wear and fourteen.
Related
The application guide goes through the sequence in detail, the size guide covers measuring, and removal covers the wooden stick’s second job.
Questions
What comes with ANARA press-on nails?
The nails on their printed card, a tube of liquid glue, a sheet of adhesive tabs, a nail file and a wooden cuticle stick. Nothing else needs buying — the box is complete.
What is the file for in a press-on nail kit?
Two things. One light pass over your own nail to take the shine off, which is what the adhesive grips. And filing the sides of a false nail that is slightly too wide, which is why you take the larger size when between two.
Do I need to buy nail glue separately?
No. Liquid glue and adhesive tabs are both in every box. Buy glue separately only when you have used up the tube across several wears.
New in